¶ Localization with Javad Mobile Tools for Android
Let me describe in brief how to do localisation with JMT.
- Create a job with given grid coordinate system
- We do surveying of control points with RTK
- Import control points into either catalog or into design points with selection of the coordinate point
- go to Localization
- create identical points those match the design points and the surveyed points.
- JMT corrects the coordinate system and you will work in he local system further
You can change localization any time and this will not harm your data. All surveyed points are stored in WGS84 (original coordinate system). Localization just modify the values “on the fly” – then you see or export data. So you can start localization from one identical point and then modify localization further then you survey second control points, etc. Or you can do all survey control points and then do localization.
-
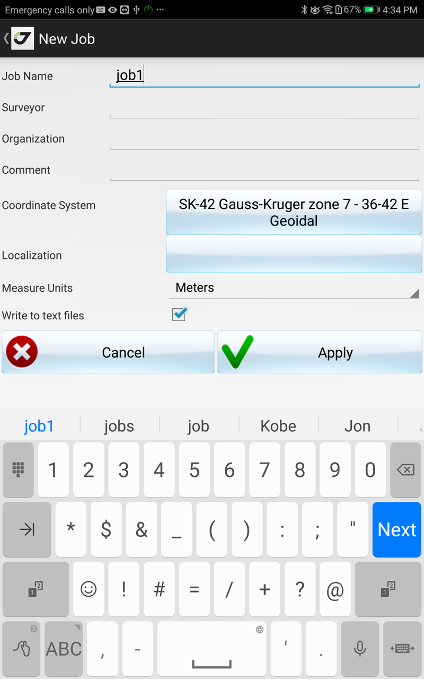
Select Job item, press + in menu set name, description for the new job
-
Press Coordinate system to select base grid system
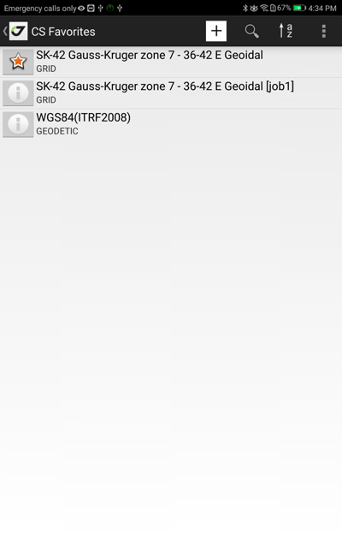
Press button and use Select CS item (create new CS if need with + in menu) -
Start Rover
-
Do RTK survey for control points.
-
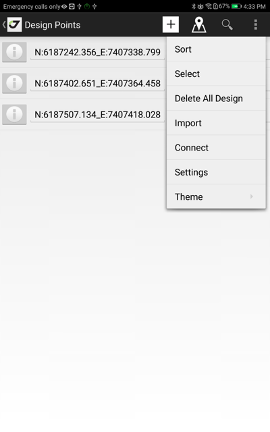
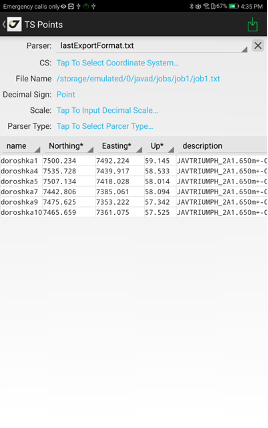
Import control points to Design. Go to Design Points and select Import from menu. Select data format and file on your Android device. Set type for each column for text file format.

-
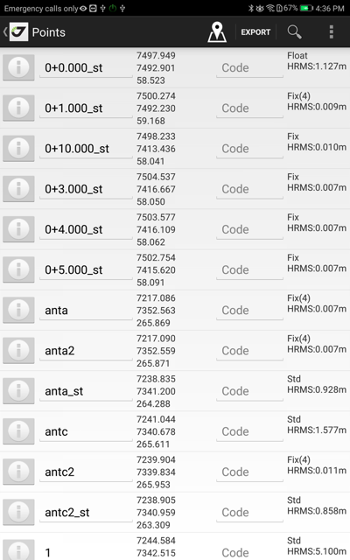
New design points appears

-
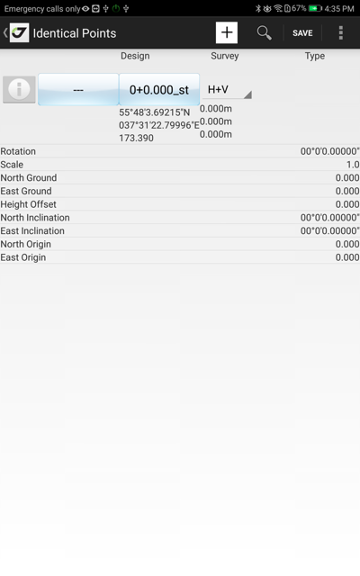
Go to Localize item to make identical points – pairs or survey points and control (design) points. Initially first identical point in the list
-
Press blue buttons to select points – left for Control (Design) point, right for Surveyed point. Press + in menu to add more control points

You can set Horizonal+Vertical or only Horizontal or only Vertical identical points with combobox near each identical point.
Then points more 3, you can see residuals for each point to see correctness of the localization.
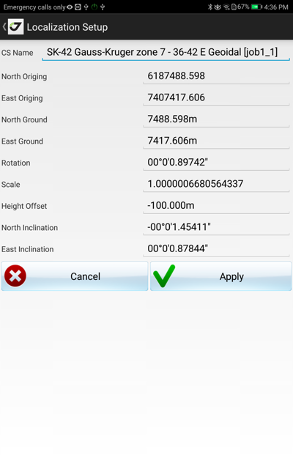
And parameters of localization are below the points. You can do advanced localization with Setup screen from menu item. There you can e.g. set scale to 1 or rotation to 0.
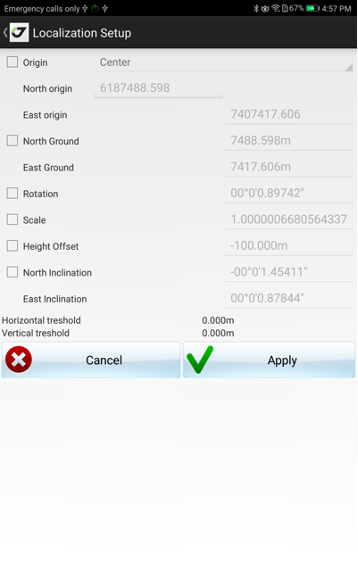
But this is advanced. -
Select SAVE from menu item to verify parameters and give name for the updated with localization CS
-
Now you can see and handle all coordinate with the localization
-
To remove localization from your coordinate system, go to Localization and select Delete Localization from menu