¶ Introduction
Coordinate Systems Manager is used to create, edit, exchange with projects, import and export coordinate systems.
Coordinate system types:
| Icon | Coordinates | Description |
|---|---|---|
 |
X,Y,Z (XYZ) | Earth-Centered Earth-Fixed (ECEF) |
 |
Latitude, Longitude, Height (BLH) | Geodetic |
 |
North, East, Height (NEU) | Plane |
 |
North, East, Height (NEU) | Local |
NOTE: Only one coordinate system with the same name and type is allowed within the same folder
¶ Open
To open Coordinate system manager select in program main menu Program Coordinate systems item or by clicking  button on a Toolbar.
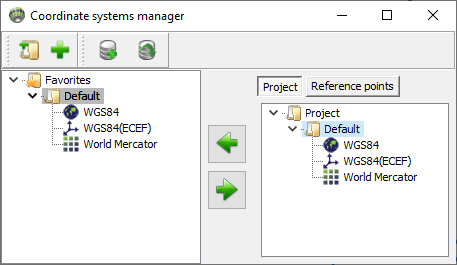
Figure 11-2. Coordinate system manager
¶ Add or edit folder
Click New folder (![]() ) button to add a subfolder to your Favorites root item
) button to add a subfolder to your Favorites root item
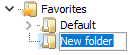
Double click to edit subfolder’s name.
¶ Add or new coordinate system
Click Add coordinate system ( ) button to customize a list of preferable coordinate systems
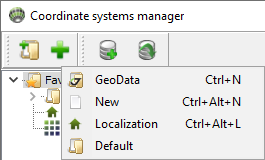
¶ GeoData
Select GeoData for searching in JAVAD Geo Database.
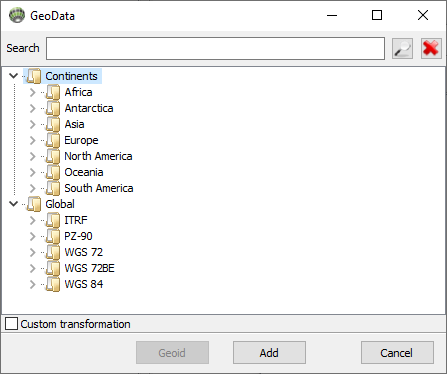
Figure 11-5. JAVAD Geo Database
To find needed coordinate system expand folders or search by enter the name or coordinates then press button 
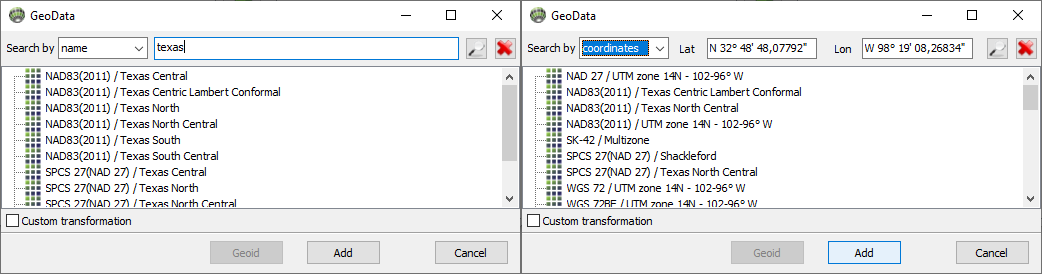
Figure 11-6. Search Texas North coordinate system
Select and press Add button to add coordinate system to Favorites. To create coordinate system with geoid press Geoid button
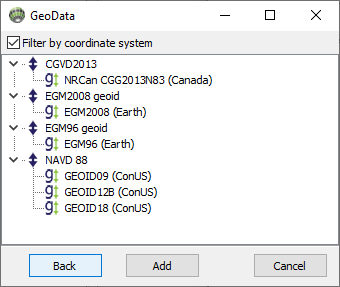
Figure 11-7. List of geoids for Texas North coordinate system
To see all exists geoids uncheck Filter by coordinate system
Each coordinate system in GeoData can have numbers of transformations. To see list of transformations set check box Custom transformation and press Next button(with geoid press Geoid button)
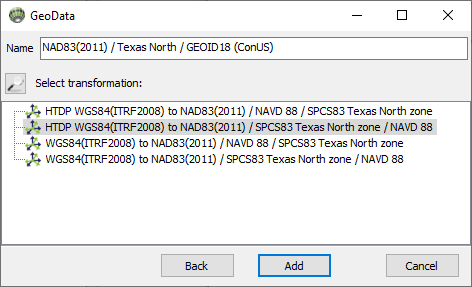
Figure 11-8. List of transformations for Texas North coordinate system
Default transformation already selected. To show parameters press button
¶ New
Create coordinate system by wizard
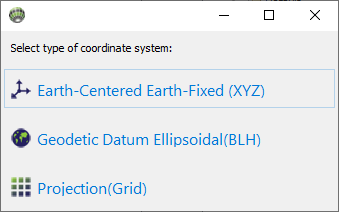
Fig.11-9 List of new coordinate system types
Focus on creation plane coordinate system because this case covers all others.
Select Projection(Grid) option and specify a datum.
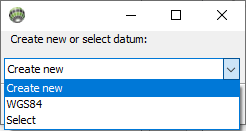
It possible to select one of existed datums or create new one. Datum parameters correspond to transformation from ITRF2008(WGS84) which is main coordinate system in Justin.
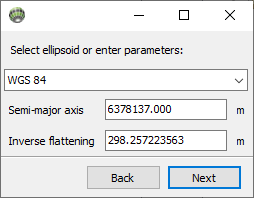
¶ New datum
Specify ellipsoid by selection from drop-down menu or input new parameters.
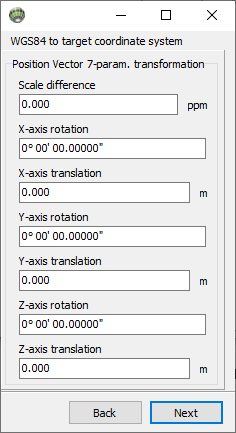
Next input 7 parameters of Helmert transformation:
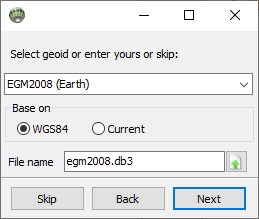
Next specify geoid by selection from drop-down menu or click Skip button. If geoid models are referring on new datum set Current radio button
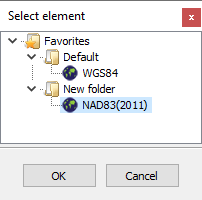
¶ Select datum
Select geodetic (BLH) system from favorites
Next to select a projection
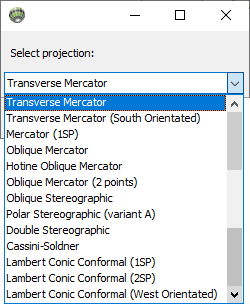
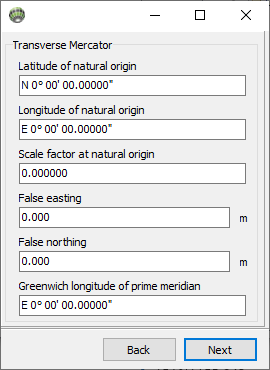
Next for parameters editing. The form that will appear depends on projection type.
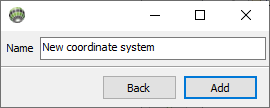
Next to enter new coordinate system name and press Add button to add coordinate system to Favorites:
¶ Localization
Create coordinate system by Localization
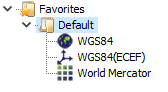
¶ Default
Add Default folder with base Justin coordinate systems. WGS84 ECEF(XYZ), WGS84 geodetic(BLH) and grid plane World Mercator
¶ Coordinate system options
Right click on coordinate system from Favorites:
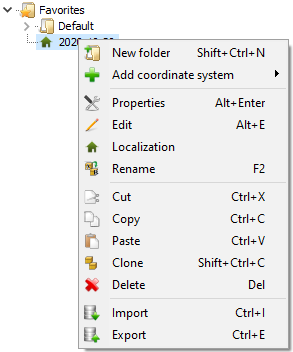
Figure 12-9. List of coordinate system options
¶ Properties
Click Properties for information:
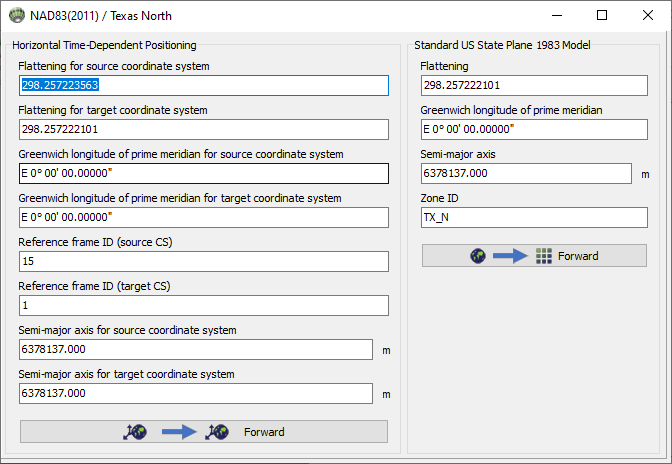
Figure 13-0. Properties of coordinate system
Each panel like "Horizontal Time-Dependent Positioning" or "Standard US State Plane 1983 Model" represent it self module of coordinate transformation. By type of module it has different numbers and types of parameters.
The arrow at the bottom of each panel shows the main direction of conversion in program from Left to Right, from WGS84 to the Target system and can't be changed. But each transformation module has a parameter defining Forward or Backward transformation. Color of arrow and label represent it. The icons to the left and right of the arrow indicate the type of input and output coordinates to transformation module and change places between input and output by a parameter defining Forward or Backward transformation.

¶ Edit
Click this option for editing. In fact, every complete coordinate transformation from WGS84(ITRF2008) to target coordinate system is chain of consecutive transformations. It causes following form of edit transformation.
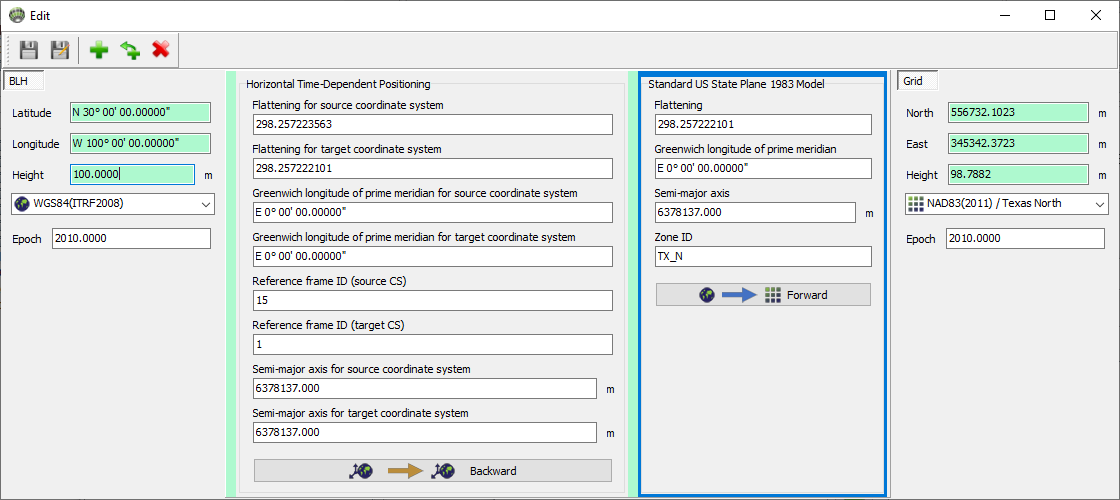
Figure 13-2. Edit of coordinate system
Far left panel designed for input/output coordinates in WGS84(ITRF2008). Far right panel designed for input/output coordinates in target coordinates system. Each panel in middle represents consecutive module transformation. These middle panels are highlighted by green or red colors depending on correct or wrong link between output data previous module transformation and input data current module transformation.
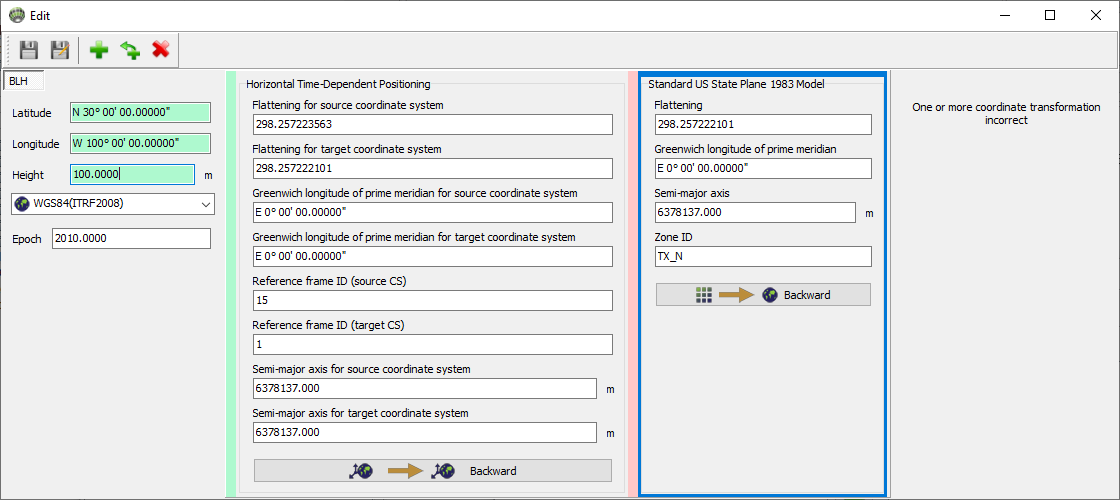
Figure 13-3. Edit of coordinate system with not valid link between modules
Validation between transformations is detected by coincidence types of in/out data. Check type using icons on the bottom bar to the left and right of the arrow indicate the type of input and output coordinates to transformation module and change places between input and output by a parameter defining Forward or Backward transformation.
¶ Status bar
| Icon | Description |
|---|---|
 |
save changes of current coordinate system |
 |
save changes by new name of coordinate system |
|
List of module transformation can be add |
 |
List of module transformation can be insert |
 |
Delete selected module transformation. To delete, you need to select the transformation. Selected transformation is highlighted by blue frame. |
To save changes transformation must be valid (has all panels colored by green).
¶ Add or insert module
Next transformations can be added or inserted.
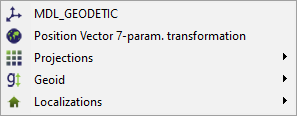
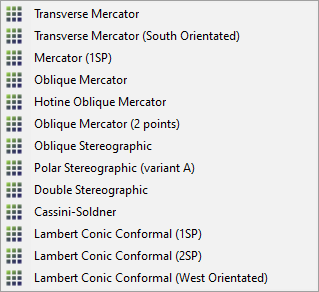
Allowed projection list:
The localization can be added:

Geoid can be added:
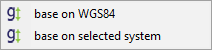
After choosing this option base on selected system, you need to select the panel whose data will be used to determine the geoid height.
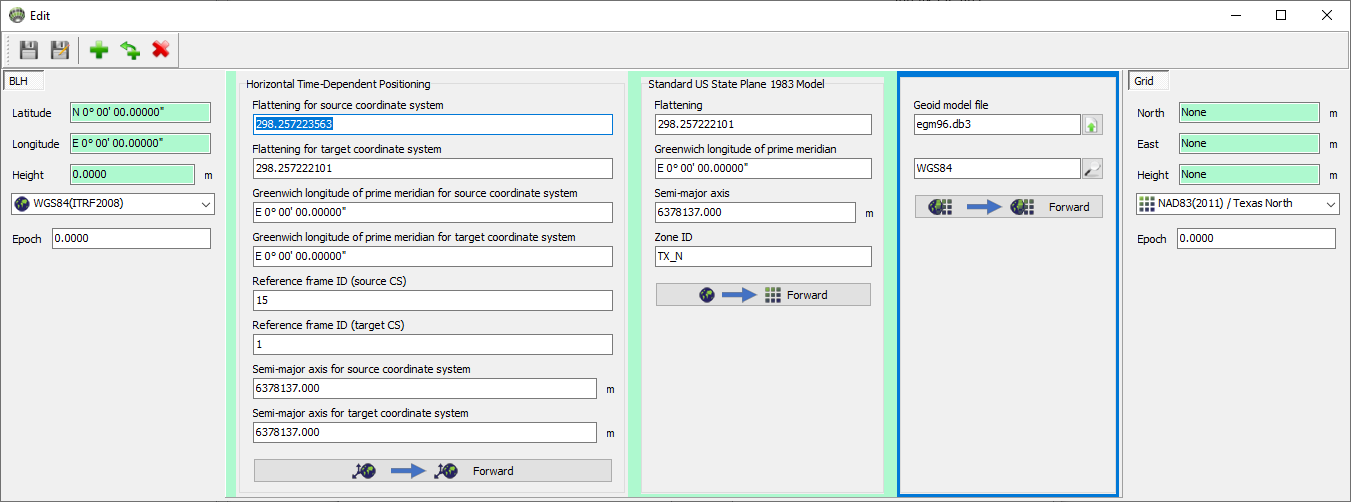
Click ![]() button for information about reference system. To change geoid file click
button for information about reference system. To change geoid file click ![]() button. New geoid file will be copy to Justin program geoids folder.
button. New geoid file will be copy to Justin program geoids folder.
¶ Import
Import coordinate systems from *.jcs file.
¶ Export
Export selected coordinate systems in .jcs file.
¶ Backup favorites
¶ Create
A good idea is a creation of backup file for the Favorites item. It helps in case of new Justin version installation or running software on several PC. Click Create back file ( ) create file with name Param_Year-Month-DayTHours-Minutes-Seconds.jcs in C:\Users\UserName\Documents\Justin\CoordinateSystems folder.
¶ Restore
Click Restore backup file ( ) to restore Favorites from a list of backup files from C:\Users\UserName\Documents\Justin\CoordinateSystems folder.
¶ Delete
Only user created backup files can be deleted. To delete click Restore backup file () then menu Delete and select menu with name of backup file.
¶ Exchange of coordinate systems
Use right panel of Coordinate systems manager for coordinate systems exchange.
¶ Project
Activate Project tab. All coordinate systems of the currently open project will be presented in this tab.
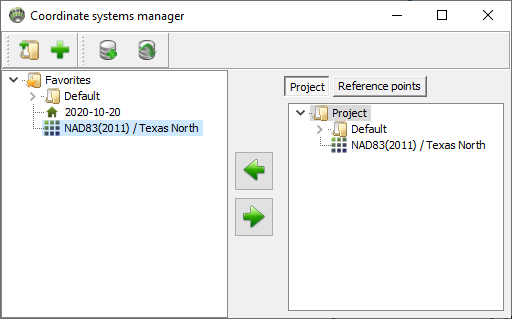
Use  and
and  buttons to copy coordinate systems from Favorites to a project vice versa.
¶ Reference points
Activate Reference points tab. Show all coordinate systems used in reference point Reference_points on program.
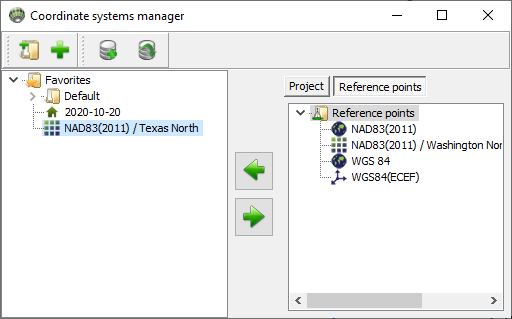
Use button to copy coordinate systems from Reference points item to Favorites.